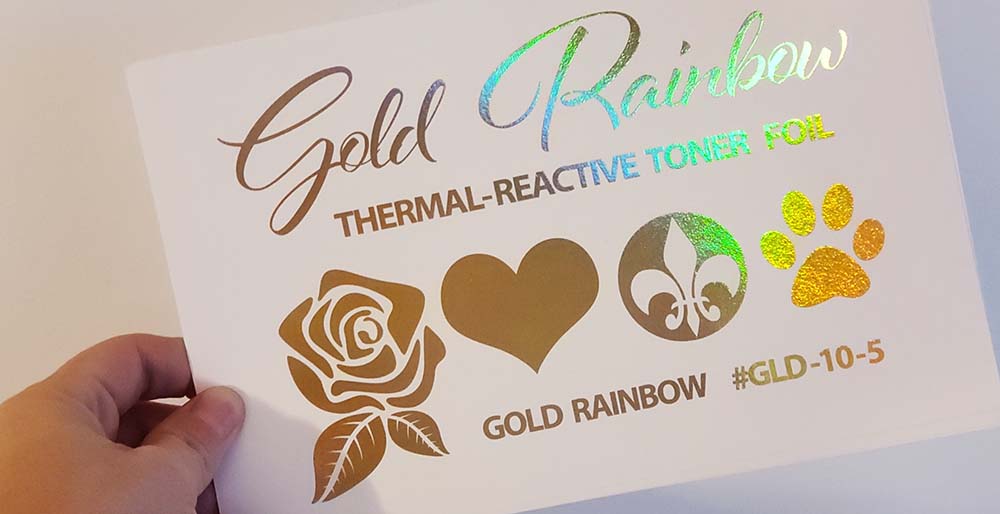
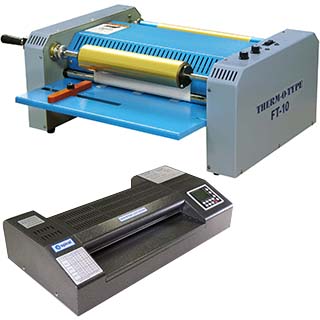
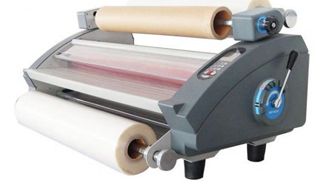
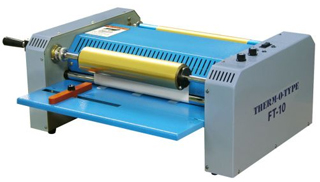
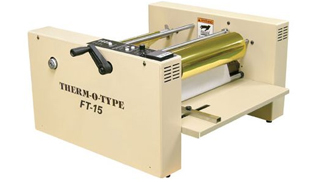
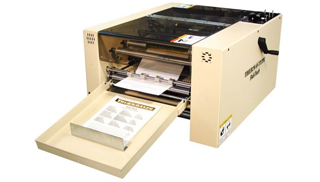
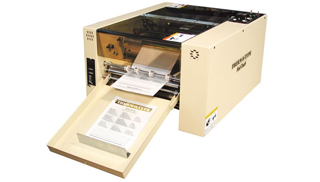
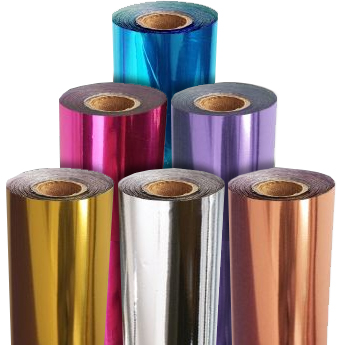
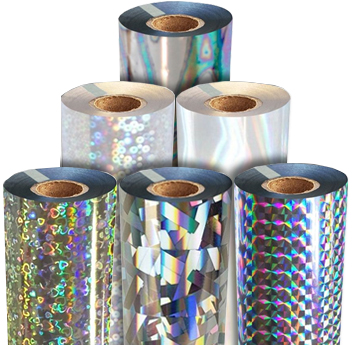
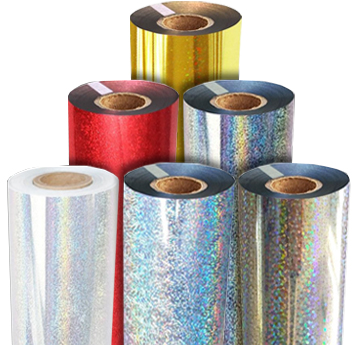
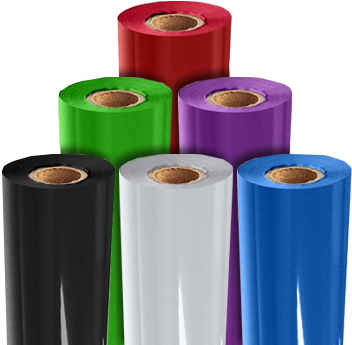
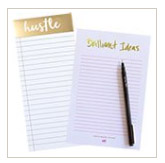
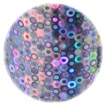
There are a lot of ways to dress up documents to create something truly special and eye-catching. With our selection of foil fusing rolls, foil fusers, and foil laminators, you can add sparkle to documents that will help them stand out. Foiling is a perfect way to create wedding invitations, award certificates, craft projects, framed prints, business cards, letterheads, stickers, and anything else that could potentially benefit from bright metallic, glittery, holographic patterned, or iridescent color accents.
What You Need to Foil:
With multiple foiling methods, you can create custom foiled documents for personal, or high production use. There are a few different ways to make foiling prints, and depending on which method you choose, you will need different tools. To decide which method is best for you, take a look at the tabs below for each method, so you can see what is required for each, the recommended volume, and even the basic instructions.
What You Will Need
1. Foil-Capable Pouch Laminator
2. Foil Roll
3. Pouch Carrier
4. Smooth Paper Stock
5. Dry Toner Copier/Printer
6. Scissors
7. Scratch Paper (thin)
Basic Instructions
1. Print your design using the dry toner.
2. Cut a piece of the foil off the roll to fit your printed design.
3. Place your sheet into a pouch carrier and cover with scratch paper.
4. Run the carrier through your laminator.
5. Peel off the foil to reveal your foiled design.
Recommended Volume
Low to Medium
Compatible Foil Rolls
Any Size
What it Takes for a Pouch Laminator to be Compatible
In order for a pouch laminating machine to be compatible with foil, it will need a couple of features. Without these, the machine may not be able to properly foil, which can lead to only partial transfers and a flakey look. Keep in mind, that in addition to the features of your equipment, foiling results will also vary depending on your printing equipment, the ink, and the paper stock you are using; so there are a lot of factors that play into the quality of the finished piece, not all of which are directly related to the laminator itself. But you can use these three features as a guideline for a laminating machine to be at least capable of potentially foiling for you.
Minimum Heat of 300° Fahrenheit - If a laminator cannot achieve this minimum heat recommendation, it is possible that the foil will not adhere. In order for the specialty adhesive to activate they need to be exposed to a certain level of heat. Some smaller home-office level laminators that can't achieve that heat might work if you run the item through twice without peeling it open, but this is not guaranteed. Note that some foils actually need higher heat, including transparent underlay options, holographic, glitter, iridescent, and some pigment foils.
Adjustable Heat - Adjustable heat settings are recommended, especially if you are planning to foil various kinds of foils, such as metallic and holographic. Different colors and types will work best under different conditions, and your paper stock can also play a factor. So having the ability to adjust the heat bit-by-bit can be a major benefit when it comes to a professional, clean, and solid finish.
Adjustable Speed - Adjustable speed settings have the same benefit as adjustable heat; they let you tailor the machine and how long the foils are exposed to heat, depending on the foil type, paper stock, and other factors that can play into the final finish.
Best Pouch Laminators for Foiling
Here are some of our most popular pouch laminators for foiling. They offer all of the essential features to ensure a completely solid, clean, and crisp foil.
What You Will Need
1. Foil-Capable Roll Laminator
2. Foil Roll
3. Foil Roll Cutter
4. Smooth Paper Stock
5. Dry Toner Copier/Printer
Basic Instructions
1. Cut your roll with the foil roll cutter, if needed.
2. Install the roll onto a compatible roll laminator & turn it on.
3. Run your printed sheet through the machine.
4. Peel off the foil to reveal your foiled design.
Recommended Volume
High
Compatible Foil Rolls
12", 12.6", 24", 25" (Core Size should match your laminator)
What it Takes for a Roll Laminator to be Compatible
All roll laminating machines will have the basic components required for a clean foil (including a minimum heat of 300° Fahrenheit, adjustable speed, and adjustable heat settings), so the compatibility really depends on one simple component of the machine: does it have a liner take-up? This is a requirement as the foil roll waste will need to be wound-up as it is running.
Best Roll Laminators for Foiling
Here are some of our most popular roll lamination machines for foiling. They offer all of the essential features to ensure a completely solid, clean, and crisp foil.
What You Will Need
1. Foil Fuser
2. Foil Roll
3. Foil Roll Cutter
4. Smooth Paper Stock
5. Dry Toner Copier/Printer
Basic Instructions
1. Cut your roll with the foil roll cutter, if needed.
2. Install the roll onto the foil fuser & turn it on.
3. Run your printed sheet through the fuser.
4. Peel off the foil to reveal your foiled design.
Recommended Volume
High
Compatible Foil Rolls
1" Core Rolls
What it Takes for a Foil Fuser to be Compatible
Foil fusers are manufactured specifically for foiling, and so they should all be compatible right out of the box. The primary consideration is the core size of the system you have, and the core size of the foil roll. Plus, of course, the width of your machine and roll.
Best Fusers for Foiling
Here are some of our most popular fusing machines for foiling. They offer all of the essential features to ensure a completely solid, clean, and crisp foil.


An important note about MINC machine foiling: We often receive customer inquiries about Minc machines and compatibility. Minc machines currently do not offer heat adjustments or a high enough temperature to allow for solid foiling with all of our foils. Customers have reported great results with metallics and matte foils, but holographic, glitter, and iridescent foils require a higher heat to properly adhere. Some customers have reported that running these foils through their Minc machine a second time without peeking has worked, but not all customers report good results. You may want to consider testing samples before purchasing rolls. Call us at (866)537-2244 for foil samples.
Kinds of Foil
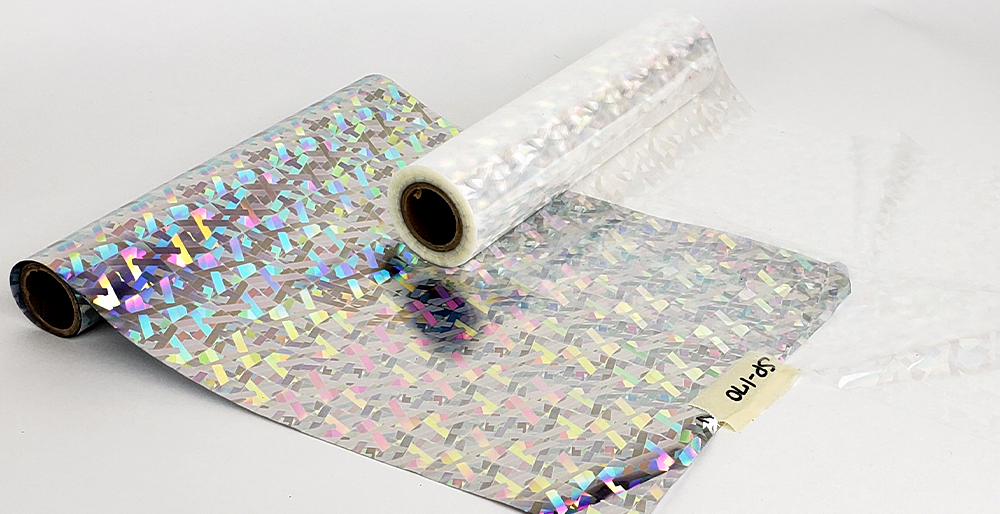
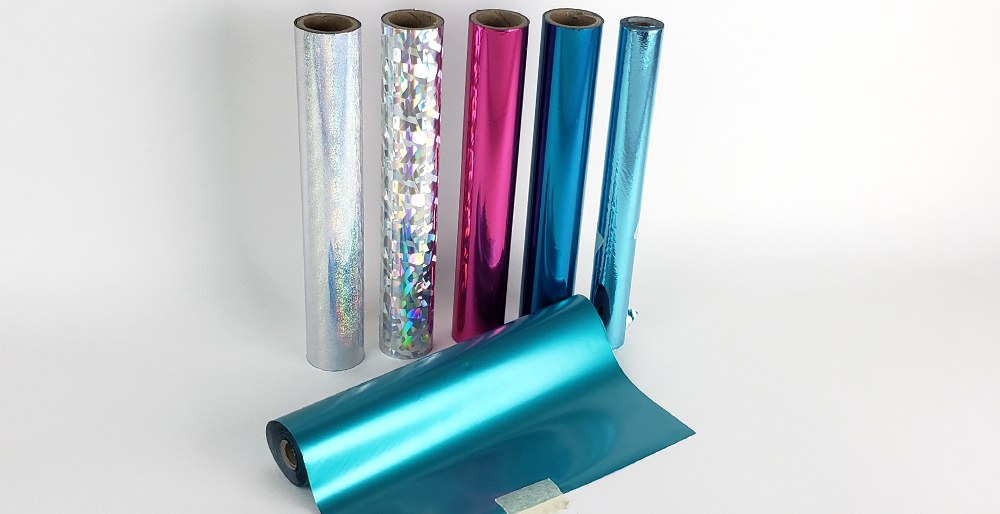
We stock a huge variety of colored foils, patterns, and finishes available. Metallic foil rolls offer a consistently bright and vibrant solid color, holographic foils offer unique patterns, glitter foils sparkle and shine, iridescent foils offer a rainbow look, matte foils are soft and look like satin, and gloss pigment foils are non-metallic matte opaque colors. Some options are even available in a clear foil so your ink color shows underneath the design. Most of our foil rolls come in various roll sizes, including 8" x 100', 12" x 100', 24" x 500', and more. Cose sizes range from 1/2", 1", or 3". Our thermal reactive foils are top-quality and considered some of the best foil rolls on the market; these are not the same foils you will find at the craft store. When paired with the right equipment, they offer a much more saturated finish with crisp edges than alternative brands. And our price per square inch is also more affordable than the big-brand names.
Tips for Success
1. Tone it Down - All of our foil rolls are toner-reactive. Toner-reactive means that they will only stick to the dry toner that is printed on your sheet. Dry toner can be found in most office copiers. It will not, however, work with wax-based inks, which are often found in laser and inkjet printers. Check your printer ink cartridge for compatibility with foil rolls. If you're not sure, call us at (866)537-2244 and we can test your printed pages in-house and mail back the results. If your office printer is not capable, you can call local print shops and simply consider outsourcing the printing.
2. Smooth it Out - The best foiling results will be achieved when using smooth paper stocks with no coating. In order to achieve a solid foil across all of your print, the paper stock that it is printed on needs to be smooth and uncoated; texture prevents the foil from going inside the crevices and will leave you with a spotty design, and often, a coated paper can prevent the foil from adhering to the stock. The thickness of your paper stock doesn't usually cause an issue, however, when using thicker paper you will need additional heat to compensate.
3. Heat Check - Heat is a very important factor when it comes to foiling. A minimum of 300° F is needed to foil, and the ability to get hotter is highly recommended, especially if you will be using transparent foils or holographic patterned foils, which require more heat (or more time in the heat) to properly fuse. This is why not all pouch laminators will always work, and why some will only work with certain foils. If you want us to send you a sample piece of foil to test on your machine, please contact us.
3. Test and Scrap - Make sure you have some scrap sheets for testing so you can tune your laminator to your foil and paper stock; this may take several runs to get the right settings.
4. Saturate - Solid black ink is the most saturated "color" and, therefore, will work best with toner foils. If you are using a standard foil, then you won't see the color underneath anyway, so it is best to use black ink. If you are using a transparent foil, you can still use a colored toner underneath, but keep in mind that you may need more heat to help the foil saturate best.
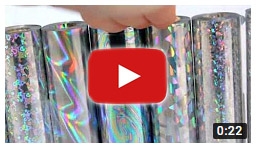
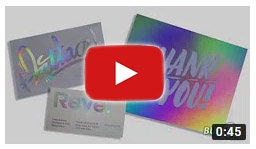
Foiling Videos
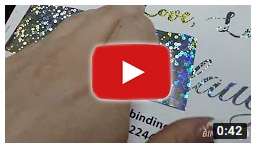
Want to see foiling in-action? Take a look at our most popular foiling videos below. Choose from some special feature videos highlighting how to foil, holographic and iridescent styles, as well as some finished samples, and a clear versus silver underlay comparison.
Foil Troubleshooting
Having some trouble getting your foiled print to look perfect? Check out these troubleshooting tips to help you figure out what is going wrong, and fix it.
Foil Not Transfering - If the foil is not transferring onto your page, then there are a few things you should check to be sure compatible items are being used.
• Is your ink a dry toner? Remember, the foil will not stick to anything but dry toner, so if you are not using the compatible ink, it will not transfer. Check your printer cartridge to see what you're using. If your printer is wax-based, then consider outsourcing the printing to your local print shop after you confirm their ink type.
Spotty Foil Transfer - If the foil is partially-transferring, or creating spotty transfers without proper saturation, then troubleshoot from the top of this list, down.
• Is your paper stock smooth? Foil won't be able to penetrate into the crevices of textured paper well. Switch to a smooth, uncoated stock instead.
• Is your paper uncoated? The coating on some stocks can prevent the foil from transferring.
• Is your laminator hot enough? 300° F is the minimum recommendation that your laminator needs to reach, and hotter is better. Some paper stocks (like thicker sheets) and even some foils will need more heat to transfer properly. If your laminator is already at its top heat, then try slowing down the speed. If you do not have adjustable speed or heat, then try just running it through a 2nd time. Note that it can only be heated a couple of times before the foil becomes unusable, so you may need to use a new piece of foil. And if you already peeled up your foil, you may need a new sheet of foil/a newly printed sheet, as the adhesive may be compromised.
Foil Transferring onto Unprinted Paper - It is a good idea to have a paint or dusting brush handy to lightly dust off the page after foiling, as some speckling on your page is normal. This will help remove those speckles. If they are not being removed, then your laminator may be too hot or too slow. Try lowering the temperature or increasing the speed and running a new sheet to see if that reduces the speckles.
Foiling FAQs
Q: What exactly is foil fusing? A: Foil fusing is the process of adding a foil, usually metallic, onto a printed document. It uses a specialty foil that will stick to dry-toner printed designs on paper while leaving the unprinted portion of the sheet untouched. It accomplishes this using a uniquely-formulated heat-activated adhesive that is embedded on the back of the foil. Unlike foil stamps, there is no expensive die manufacturing required. All you need is a few supply items and a heat source to accomplish professional-quality foiled finishing.
Q: Can I get a sample? A: Yes. Please call us at (866) 537-2244 to arrange a sample. We can do it one of two ways: we can send you a strip of foil to test with your equipment, or you can send us a printed page to test with our professional in-house equipment.
Q: What is the smallest font size foil will stick to? A: We've tested text as small as 6pt with a nice foil adhesion. Anything smaller than that generally does not have enough toner saturation to attract the foil.
Q: Can I make stickers with foil? A: Yes, we have many customers who use our foil with their sticker papers to make metallic stickers. Just make sure the paper is smooth and uncoated for the best adhesion.
Q: Will your foils work with Minc machines? A: Yes, thermal toner foils will work with nearly any heat source, including the Minc machines (which are essentially little laminators). With our experience, Minc machines do not reach a hot enough temperature to work with all foils, and without an adjustable speed or heat, the finish may not always be perfect. That is why we actually recommend using a foiling laminator instead.
What is Foil Fusing?
Foil fusing is the process of adding a foil, usually metallic, onto a printed document. It uses a specialty foil that will stick to dry-toner printed designs on paper, while leaving the unprinted portion of the sheet untouched. It accomplishes this using a uniquely-formulated heat-activated adhesive that is embedded on the back of the foil. With multiple foiling methods, you can create custom foiled documents for personal, or high production use.
What You Need to Foil:
With multiple foiling methods, you can create custom foiled documents for personal, or high production use. We mentioned above that you can apply foil with either a laminating machine or a foil fuser, and depending on which method you choose, you will need different tools. To decide which method is best for you, consider that individual users and most businesses that foil for mostly internal use prefer the pouch laminating method, while high volume users that sell their items to clients typically use foiling machines or capable roll laminators for the higher speed and continuous feed benefit. Check out the comparison chart below that will highlight some of the primary differences in the methods to help you decide what will work best for your individual needs or intended applications.
| Method | Foiling with a Pouch Laminator | Foiling with a Roll Laminator | Foiling with a Foil Fuser |
|---|---|---|---|
| Volume Intended | Low to Medium Volume | High Volume | High Volume |
| Tools Needed | • Foil Laminator • Pouch Carrier • Smooth Paper Stock • Dry Toner Copier/Printer • Foil Roll • Scissors |
• Compatible Roll Laminator • Foil Roll Cutter • Smooth Paper Stock • Dry Toner Copier/Printer • Foil Roll |
• Foil Fuser • Foil Roll Cutter • Smooth Paper Stock • Dry Toner Copier/Printer • Foil Roll |
| Compatible Foil Rolls | Any Size | 12", 12.6", 24", 25" (Check Core Sizes) | 24" (1" Core Sizes) |
| Basic Instructions/ Process |
1. Cut a piece of foil off the roll to fit your printed design 2. Place your sheet into a pouch carrier 3. Run the carrier through your foil laminator 4. Peel off the foil to reveal your foiled design |
1. Cut your roll with the foil roll cutter, if needed 2. Install the roll onto a compatible roll laminator & turn it on 3. Run your printed sheet through the machine 4. Peel off the foil to reveal your foiled design |
1. Cut your roll with the foil roll cutter, if needed 2. Install the roll onto the foil fuser & turn it on 3. Run your printed sheet through the fuser 4. Peel off the foil to reveal your foiled design |
Kinds of Foil:
There are a huge number of foiling roll colors, patterns, and designs available. Metallic foil rolls offer a consistently bright and vibrant solid color, holographic foils offer unique patterns, glitter foils sparkle and shine, iridescent foils offer a rainbow look and gloss pigment foils are non-metallic matte opaque colors. Most of our foil rolls come in various roll sizes, including 8" or 12" wide with a 100' length (8 or 12 inches by 100 feet) and a 1/2" core, or a 24" wide and 500' length full-size roll (24 inches by 500 feet) with a 1" core. Our thermal reactive foils are top-quality and considered some of the best foil rolls on the market.
Tips for Success:
1. Tone it Down - All of our foil rolls are toner-reactive and require a heat source to fuse. Toner-reactive means that they will only stick to the dry toner that is printed on your sheet. Dry toner can be found in most office copiers. It will not, however, work with wax-based inks, which are often found in laser and inkjet printers. Check your printer ink cartridge for compatibility with foil rolls. If you're not sure, call us at (866) 537-2244 and we can test your printed pages in-house and mail back the results. If your office printer is not capable, you can call local print shops and simply consider outsourcing the printing.
2. Smooth it Out - The best foiling results will be achieved when using smooth paper stocks with no coating. In order to achieve a solid foil across all of your print, the paper stock that it is printed on needs to be smooth and uncoated; texture prevents the foil from going inside the crevices and will leave you with a spotty design, and often, coated paper can prevent the foil from adhering to the stock. The thickness of your paperstock doesn't usually cause an issue, however, when using thicker paper you will need additional heat to compensate.
3. Heat Check - Heat is very important factor when it comes to foiling. Our selection of foil laminators all have some important functions that are needed to foil, the most important of which is heat (and/or speed). A minimum of 300° F is needed to foil, and the ability to get hotter is highly recommended, especially if you will be using transparent foils or holographic patterned foils, which require more heat (or more time in the heat) to properly fuse. This is why not all pouch laminators will always work, and why some will only work with certain foils. We have more information about what capabilities your pouch laminator will need to work on our foil laminators page (just hit "view more" on that page). If you want us to send you a sample piece of foil to test on your machine, just give us a call at (866) 537-2244 and we would be happy to do so!
3. Test and Scrap - Make sure you have some scrap sheets for testing so you can tune your laminator to your foil and paper stock; this may take several runs to get the right settings. If you're using a pouch laminator, then you should also have thin scrap paper available to place on top and below your pages.
4. Saturate - Solid black ink is the most saturated "color" and, therefor, will work best with toner foils. If you are using a standard foil, then you won't see the color underneath anyway, so it is best to use black ink. If you are using a transparent foil, you can still use a colored toner underneath, but keep in mind that you may need more heat to help the foil saturate best.
Foiling Videos:
Click to see our Foiling Playlist on YouTube
Troubleshooting:
Having some trouble getting your foiled print to look perfect? Check out these troubleshooting tips to help you figure out what is going wrong, and fix it.
Foil Not Transferring - If the foil is not transferring onto your page, there are a few things to try, all of them very simple. Starting from the top...
• Is your ink a dry toner? Remember, foil will not stick to anything but dry toner, so if you are not using the compatible ink, it will not transfer. Check your printer cartridge to see what you're using.
• Is your paper stock smooth? Foil won't be able to penetrate into the crevices of textured paper well. Switch to a smooth, uncoated stock instead.
• Is your paper uncoated? Coating on some stocks can prevent the foil from transferring.
• Is your laminator hot enough? 300° F is the minimum recommendation that your laminator needs to reach, and hotter is better. Some paper stocks (like thicker sheets) and even some foils will need more heat to transfer properly. If your laminator is already at it's top heat, then try slowing down the speed. If you do not have adjustable speed or heat, then try just running it through a 2nd time. Note that it can only be heated a couple of times before the foil becomes unusable, so you may need to use a new piece of foil. And if you already peeled up your foil, you may need a new sheet of foil/a new printed sheet, as the adhesive may be compromised.
Foil Transferring onto Paper too - It is a good idea to have a paint or dusting brush handy to lightly dust off the page after foiling, as some speckling on your page is normal. This will help remove those speckles. If they are not being removed,then your laminator may be too hot or too slow. Try lowering the temperature or increasing the speed and running a new sheet to see if that reduces the speckles.
Foiling FAQs:
Q: Can I get a sample? A: Yes, we would be happy to set you up with some free foil samples to test out! If you need us to test samples before you buy, just give a call at (866) 537-2244 or email solutions@buy101.com and we would be happy to do so! There are two ways that we can do foil samples for you: (1) we can send you a piece of foil for you to test with your machines, or (2) you can send us a sample of your printed sheet and we can test with the professional equipment in our demo room.
Q: Can I foil multiple colors on the same page? A: Yes! If using the laminator method, you have total control over where the foil lies on your sheet, so you can use as many or as few colors as you would like by just cutting the pieces and placing them on the toner. If using a foil fuseer, you would want to print your first toner, run it with color number 1, then add your second toner and run it with foil number 2.
Q: What is the best paper for foiling? A: The best paper stock for foil fusing is going to be a smooth and uncoated sheet. Real textured paper with mountains and valleys won't allow the foil to properly adhere, but some very lightly textured pages may work. Coatings like gloss will resist foil, and may not get a completely foiled finish.
Q: What is the smallest font size foil will stick to? A: We've tested text as small as 6pt with a nice foil adhesion. Anything smaller than that generally does not have enough toner saturation to attract the foil.
Q: Can I make stickers with foil? A: Yes, we have many customers who use our foil with their sticker papers to make metallic stickers. Just make sure the paper is smooth and uncoated for the best adhesion.
Q: Why would I need a foil roll cutter? A: When using the foil fuser method, your machine will have a core size requirement and may only accept a certain foil width. For example, Therm-O-Type foil fusing machines use 1" core foils and the width allowance varies by machine. That being said, foil rolls with a 1" core are only available in a 24/25" roll width. So if your machine needs a 12" width, having a foil roll cutter will allow you to turn that one roll into usable rolls.
Q: Will your foils work with Minc machines? A: Yes, thermal toner foils will work with nearly any heat source, including the Minc machines (which are essentially little laminators). With our experience, Minc machines do not reach a hot enough temperature to work with all foils, and without an adjustable speed or heat, the finish may not always be perfect. That is why we actually recommend using a foiling laminator instead.
From our Blog:
