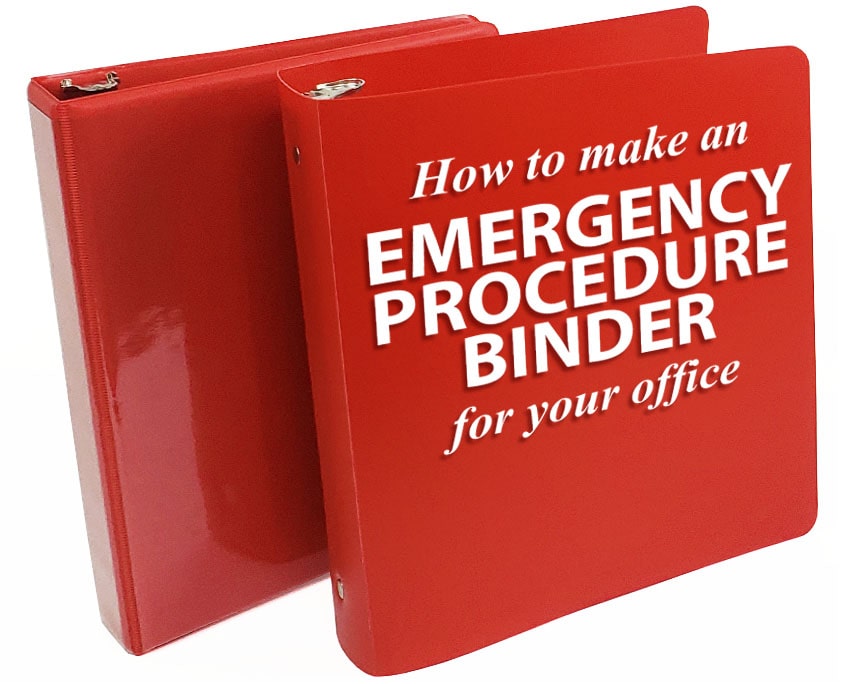
How to Make an Emergency Procedure Binder for your Office
With the natural disasters seemingly becoming more frequent and more powerful in nature, it is more important than ever to have a proper procedure for emergency situations that may occur during business hours in your office. Properly planning for various possible emergency situations can not only help ensure the safety of your employees and yourself, but also provide your entire staff with a sense of comfort in knowing that there is a plan and knowing what to do in a time of crisis.
Having an emergency procedure binder is one thing, and a great thing at that, because it allows you the space to create an easily accessible single-location where any staff member can find steps and plans for how to handle various exigency situations. You can easily differentiate between different circumstances with index tab dividers and sub-dividers, as well as easily add or edit information as it changes with time (whether that change is due to a move of location, additional resources, changed procedures, or anything else).
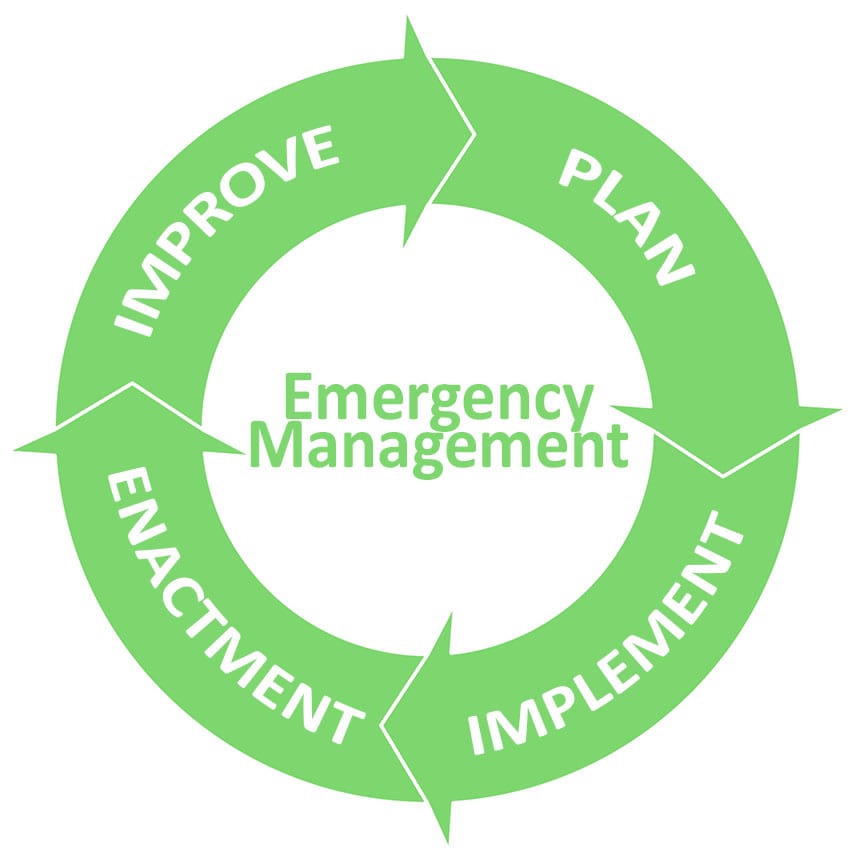
But remember, just having this valuable resource is not the only thing you should do to prepare your office for an disaster management. You should also consider conducting a training course annually (or more often) to keep it fresh in everyone's mind, as well as enactments and continuous program improvement (because doing something repetitively makes it far easier to remember; it becomes muscle memory when our brains are shocked or stalled by a scary state of affair).
Ok, so onto the instructions for how to make an emergency procedure binder for your office:
Supplies Needed:
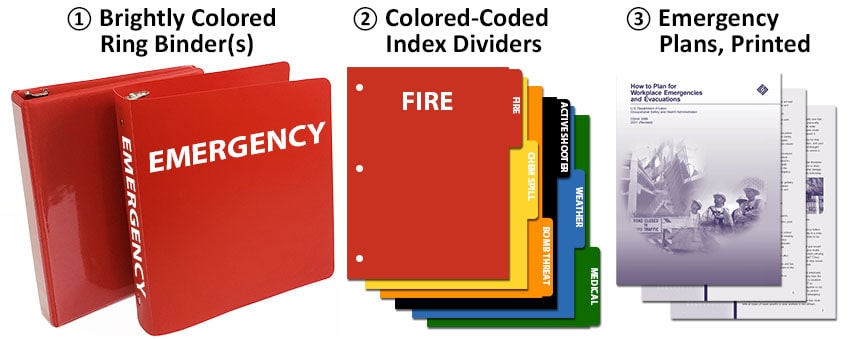
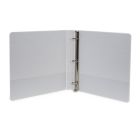
- Ring binder - You will want to choose a brightly colored binder to stand out from any other ring binders you may have in your office. Popular colors will include red, yellow, and orange. You could even have different binders for different kinds of situations; for example, a yellow binder for emergencies that may not be as time-sensitive, or even for just basic procedures, and a red binder for urgent situations that require immediate attention.
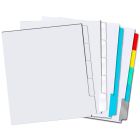
- Index dividers - Having index tab dividers in your binder will be essential to organize the information. I would even recommend having main indexes labeled for situational instances, and sub-indexes for other possible organizing. Make sure they are sturdy so they will task; I recommend an extra thick cardstock on coated paper or, even better, printed poly/plastic tab dividers. In an emergency situation, our brains often shut down or are overwhelmed, making it difficult to function, so having an easily organized binder for quick access to essential information can reduce anxiety and stress in a situation.
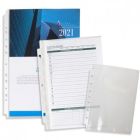
- Emergency procedures - You will also have to have your emergency plant content and filler paper printed and 3-hole punched for your binder. To make the pages last, we recommend using a thick, 2-side coated cardstock or even laminating your sheets. This will help protect them from water damage and tearing. The Ohio State University Department of Public Safety has some great references and ideas for segmenting your binder into sections. You can also check out the 'How to Plan for Workplace Emergencies and Evacuations' downloadable PDF from OSHA.
How to Build your Emergency Binder
Putting together a binder is a pretty straightforward process, but we've put together a few steps for you that include recommendations and suggestions specifically for emergency planning. Always feel free to modify your binder to meet your business' or your region's needs.
- Label Your Binder - If you are going to be using 1 binder for all emergency situations, than something very short and to-the-point is usually best. A basic "EMERGENCY" in bold, contrasting letters on the front and spine of the binder are what most people choose to do -- clear and to-the-point. You can use either a clear view ring binder with a sleeve so you slip in a printed sheet, or you can get them custom printed for a more permanent solution. You could also choose a poly binder, which is ideal for a lot of users because it is the most durable kind of binder, so will last the longest. It is made of a pure polyethylene plastic, so is easily wiped clean if spilled on. Poly binders don't have pockets to slip in covers, but they can be custom printed however you would like. Make sure your ink or text is a bright, contrasting color to the color of your binder. Such as white on red, or yellow on black. If you are using multiple binders for various emergency situations or levels of emergency, then it is best it easy to differentiate them quickly. For example, a red binder with white "EMERGENCY" for urgent action-now emergency procedures and plans, a yellow binder with black "HAZMAT" for spills and other urgent, but very specific, action plans. Perhaps even a blue with black "WEATHER" binder for how to react for various extreme weather conditions.
- Decide on your Divider Sections - Once you know whether you will have one or multiple binders, you can start to decide the divider sections within that binder. A cleanly organized ring binder is so important for quick-access to the proper action plans. I recommend creating main sections, as well as sub-divider sections (when necessary) to really make it clean. For example, one of your sections may be for "Extreme Weather" and within that section you may want to have "Flood", "Earthquake", "Tornado", etc. For main sections, you can use larger ta widths, such as 1/3 or 1/4 cuts (with 3 or 4 tabs along the edge), and for sub-sections, you can use smaller tabs, potentially in the same or similar colors, such as 1/6 or 1/8 cut (6 or 8 tabs along the edge). Keeping sub-sections in the same color scheme is another way to make everything flow in a way that makes sense. For example, having a royal blue main section for "weather emergencies" and sub-sections in an azure blue indicates that those tabs belong together.
- Choose a Tab Divider Material - I highly recommend going with a poly/plastic index tabs, because they will last for years and years. They are water proof, tear-proof, and more easily let you color-label the different sections because you can get a solid piece of red, or yellow, or blue (etc) poly for the whole tab sheet. Paper tabs are less expensive upfront, in general, but they won't last.
- Print and hole-punch your Procedures - Next you will need to actually find the content you want in your binder, print it out, and hole punch it for the binder. You are welcome to create your own documentation from scratch, however, there are a lot of great resources already in existence that you can also use, which are linked above in the "supplies needed" section, number 3, "emergency procedures". Make sure to print these pages on a durable paper stock, such as a coated stock or even a tyvek stock, tear-resistant paper alternative, or all-weather paper sheets. You can get them pre 3-hole punched, or punch them yourself with any office hole puncher. Another alternative would be to insert your pages into sheet protectors.
- Put it All Together & Find the Right Storage Location - Get your tabs and content pages and put them all together in the binder...admire your work! Now choose a spot in your office where it will be easy to access quickly in an emergency situation. It should be easy to reach for all employees, and placed in a central location.
- Training & Drill Practice - You have your binder, great! Your first step is complete. But that is not all that is needed...you will need to ensure that, not only does every staff member know where the binder will be placed, but every staff member knows how to navigate the binder, and how to take the necessary actions planned out. You can do this by having a training session explaining binder contents, as well as hosting drills for the actions that are most likely to occur in your area or industry. For example, you may want to have a drill run-through for earthquakes in California, or for chemical spills in a power plant.
Summary
In this day and age, it is easy to say "we have phones with access to the internet 24/7/365...why do we need a paper resource when we have access to literally every document ever existing on the web? But remember, in am emergency situation, we may not have power to charge our devices, or even cell phone towers to have networks for searching. We're not talking about daily searches here...we are talking about when the worst happens, what is your plan going to be and how prepared will your team members be? Get yourself a plan in place, train your staff, and have the resources at arms-reach for easy reference.
For more information or a quote, call us at
(866) 537-2244
or email
info@buy101.com
 About the Author • Mallory Morsa has been part
of Binding101 since 2008 and she is the primary content creator for BUY101® information. She began in customer
service and sales where she honed in her skills to provide the customer with professional, fast, and accurate
information. Shortly after, she was promoted to sales supervisor and also took on the role of product expert,
training the team on new products. Throughout this time, she also wrote content for the site, as well as contributed
stock photography and videography. As the team grew, she moved to an official position as the content specialist and
social media manager. Her skills in these variety of areas give her the unique expertise to not just create content
for the web, but to create content for you, the customer. She has a Bachelor's degree in business management and
marketing, was on the Dean's List each year, and graduated Summa Cum Laude. In her free time, Mallory's favorite
things to do include volunteering at the animal shelter by bottle feeding neonatal kittens, reading at the park,
cooking plant-based meals, playing board games, hiking, and binge streaming TV shows with her furbabies and family
beside her.
About the Author • Mallory Morsa has been part
of Binding101 since 2008 and she is the primary content creator for BUY101® information. She began in customer
service and sales where she honed in her skills to provide the customer with professional, fast, and accurate
information. Shortly after, she was promoted to sales supervisor and also took on the role of product expert,
training the team on new products. Throughout this time, she also wrote content for the site, as well as contributed
stock photography and videography. As the team grew, she moved to an official position as the content specialist and
social media manager. Her skills in these variety of areas give her the unique expertise to not just create content
for the web, but to create content for you, the customer. She has a Bachelor's degree in business management and
marketing, was on the Dean's List each year, and graduated Summa Cum Laude. In her free time, Mallory's favorite
things to do include volunteering at the animal shelter by bottle feeding neonatal kittens, reading at the park,
cooking plant-based meals, playing board games, hiking, and binge streaming TV shows with her furbabies and family
beside her.

Hi! My name is Mallory and I have been in the industry since 2008. If you do the math, that is over 15 years. I have spent my time at Binding101 in many roles, including customer service, sales, e-commerce management, video production, and more! Because of this vast experience, I bring a truly expert touch to the content in our blog. widdling down complex topics to extract what our customers really want to know. As the Content and UX Manager, I act as a writer and editor for the majority of copy you will find here. When not at my computer, I love spending time binging stand-up comedy, baking, and cuddling up with my family and rescued cats and dogs...