We process your personal information to measure and improve our sites and service, to assist our marketing campaigns and to provide personalized content and advertising. By clicking the button on the right, you can exercise your privacy rights. For more information see our privacy notice.
Privacy Policy

How to Laminate with a Pouch Laminator
June 13, 2018
Wondering how people make those gorgeous laminated photos? The durable signs placed throughout the store and classroom, or the ID badges hanging from their lanyards? Well more often than not, they do this with a pouch laminating machine. In this post you will learn how to laminate with a pouch laminator, including the simple steps and all of the supplies you will need. We will also discuss some professional tips to help you get the best finish.
Please keep in mind that exact directions for how to laminate with a pouch lamination machine will vary depending on the specific machine that you are using, however, the general steps are usually the same. Some laminators might have more options and adjustments, and some may have less; for that reason, we always recommend you refer to your specific machine instructions for exact steps.
What You Will Need:
-
• Pouch Laminator
• Laminating Pouches
• Pouch Carrier (optional - depending on machine limitations)
• Document, sign, or photo to be laminated
How to Laminate with A Pouch Laminator:
-
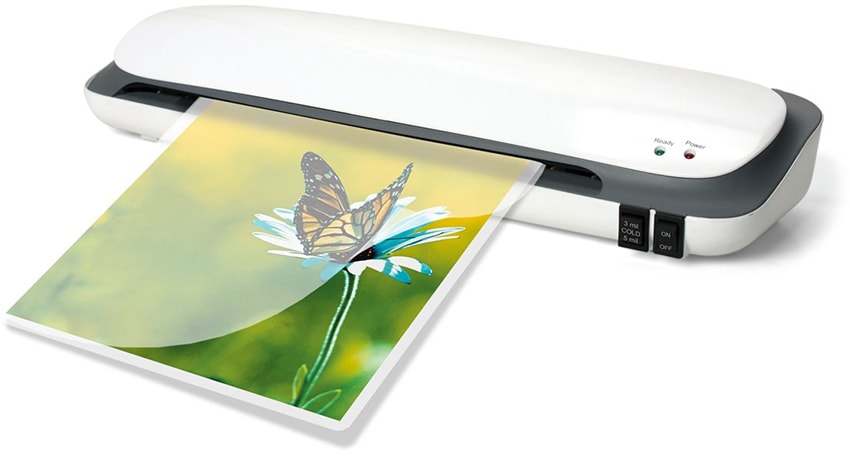
① Turn on your pouch laminating machine and let it warm up to the appropriate temperature. Getting the perfect temperature and speed for you application is important to get the best results... this is why we always recommend testing sample documents. If you find that your finished piece has milky spots, then the laminator is too cold... turn up the temperature a few degrees (or decrease the speed) and try again. If you find that your finished piece has bubbles, than your laminator is too hot... turn down the temperature a few degrees (or increase the speed) and try again.
② While your laminator is warming up to the appropriate temperature, you will need to prepare your document for lamination. Place your document or photograph inside a lamination pouch. You will want your document to be at least 1/4" smaller on all sides than the laminating pouch. This will create the best seal around the edges, and the most protection for your laminated sheet.
③ If using the optional pouch carrier, place your document (now encapsulated in the laminating pouch) into your pouch carrier. This tool can help preserve the life of the majority of laminating machines by preventing adhesive from seeping into the interior mechanics of the laminator. But note that some smaller or less expensive machines won't accent the additional thickness that a carrier creates, so check your specific machine manual to see if you can use them.
④ Insert your pouch carrier (now encapsulating your laminating pouch and document) into your pre-heated pouch laminator, closed side first. Do not place the open end first as this could cause a jam, and possible cause damage to your laminator.
⑤ Once the document comes out of the other side of your laminator, you have your finished product.
Professional Pouch Lamination Tips for the Best Finish:
• No matter the brand name or model of laminating machine you are using, is highly recommended that you always allow the machine to finish the cool down process before turning off or unplugging it; this is vital to protect the internal heating elements from warping by cooling down too fast, extending the life of your machine.
• If your finished laminate has bubbles or is wavy, then it is likely set to too high of a temperature. Try lowering the temp, allowing the machine to get to the new heat setting, and then re-running a new pouch. If you don't have adjustable temperature on your laminator, then try increasing the speed.
• If your finished laminate is milky, then it is not laminating completely because the machine is too cool. Heat up the temperature, allow the proper warm-up time to reach the new temp, and try again. If you don't have adjustable heat, then try slowing down the speed. If you don't have adjustable heat or speed, you may just be able to run it through a 2nd time.
• You can trim your laminate down with any standard scissors, rotary trimmer, or handheld knife. It is recommended that you leave about 1/4" on each edge, however, as this will protect your encapsulated document best.
More about Pouch Laminating:
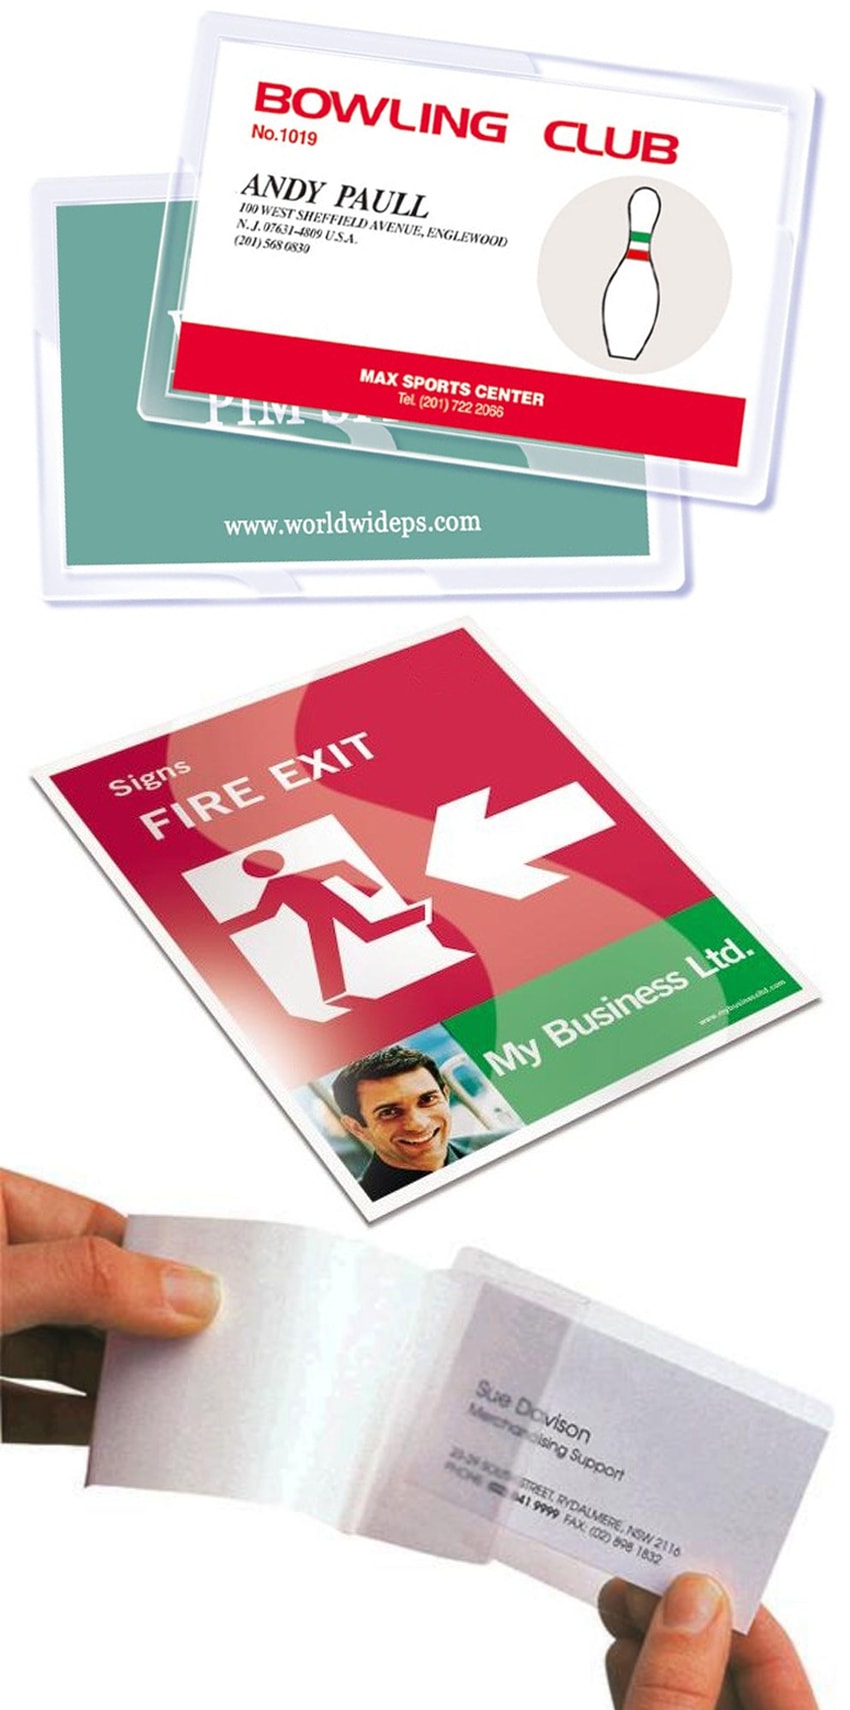
Conveniently protect your important documents from tears, scratches, spills, harmful UV rays and more with high quality laminating pouches using a pouch laminator. Pouch laminating machines are the most popular and least expensive choice for lamination, and they are used to protect and preserve important documents and photographs for years to come. Pouch laminators are used to laminate applications from identification cards up to posters and large signs. They apply heat and pressure to the laminating pouch fully encapsulating the document. These laminating machines are generally available in compact tabletop units designed for laminating applications up to 14" wide. Sometimes a rare wide format pouch laminator is available for larger applications.
Laminating Pouches are available in an extensive variety of laminating pouch sizes and laminating pouch thicknesses for applications ranging from identification badges up to large menus. They are also available in a variety of styles or finishes, including gloss, matte, colored, and more. Decorative borders, adhesive backs, and self-laminating pouches also available. Laminating pouches have rounded corners on all four sides and are available in clear gloss, clear matte, and several colors.
We hope that this easy how-to guide has walked you through the pouch laminating steps, teaching you how to get the perfect lamination using a pouch laminator. If you still have questions, or if you need help choosing the best pouch laminating machine or supplies, give us a call at (866)537-2244 and we would be happy to help.


Hi! My name is Mallory and I have been in the industry since 2008. If you do the math, that is over 15 years. I have spent my time at Binding101 in many roles, including customer service, sales, e-commerce management, video production, and more! Because of this vast experience, I bring a truly expert touch to the content in our blog. widdling down complex topics to extract what our customers really want to know. As the Content and UX Manager, I act as a writer and editor for the majority of copy you will find here. When not at my computer, I love spending time binging stand-up comedy, baking, and cuddling up with my family and rescued cats and dogs...
Related Products


Comment(s)


Trending Now

How to Bind Paper
January 29, 2019
What are the Best Laminators for Foiling?
July 10, 2018
How to Make a Wire Calendar 3 Different Ways
September 04, 2018
Everything you need to know about Foiling (with FAQs)
June 22, 2018
