What do I need to Make Pads of Paper?
Making a pad of paper is so much easier than you may think! Although an actual padding press machine makes it easier to make paper pads in bulk, you really only need a couple of tools and supplies to DIY notepads.
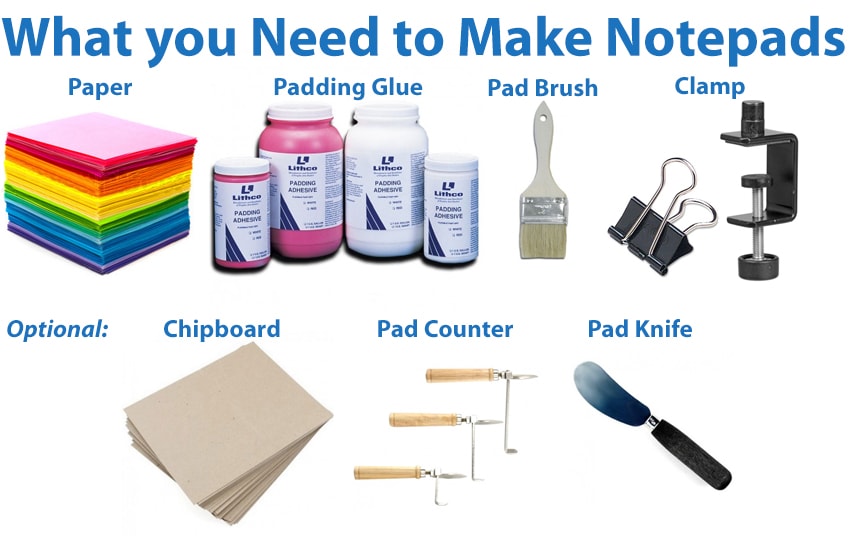
Supplies Needed:
-
• Paper: Get creative! Use fun paper from the craft store, or design and print your own custom pages.
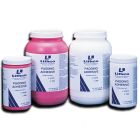
• Padding Compound: Specially formulated padding glue comes in 3 varieties.
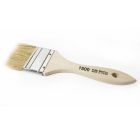
• Padding Brush: Used to paint on the glue.
• Clamp: Used to hold the pages together tightly for gluing. You can use several binder clips (enough to hold your stack tight), a table clamp, or even some heavy books.
• Chipboard Backings (Optional): Create a more sturdy back to your pads with an optional chip board sheet.
• Padding Knife (Optional): If making multiple pads at one time, use a padding knife to cut the glue and separate your pads.
• Pad Counter (Optional): If making multiple pads at one time, use a pad counter to turn a large stack of pages into multiple smaller stacks with the same thickness.
• Padding Press (Optional): If making pads in bulk, a padding press will allow for fast, high quantity padding. The directions will vary depending on the machine you use.
How to DIY Pads of Paper:
Now that you have everything you need, here are some simple how-to instructions for making DIY notepads.
-
① Square your stack: Jog your pages into a square stack. If using chip board sheets, add one to the bottom of the stack. If making multiple pads at once, use the pad counter to turn your thick stack of sheets into several evenly-thick stacks and separate them with a chipboard backing.
② Clamp your stack: Use your clamp to hold the binding edge of your stack tight.
③ Apply glue & wait: Hang your binding edge over your table (make sure to use scrap paper or something to catch any possible glue drips) and use the brush to apply the padding glue. Allow the glue to dry (can take 20-40 minutes, depending on the glue type)
④ Remove your clamp: Once dry, release your clamps and you have your beautiful finished pads of paper! If you created multiple pads separated by chip board, use your pad knife to cut the glue under each board and reveal your notepads.
Have you made your own pads of paper? We would love to hear your tips and tricks! Send me an email to info@buy101.com and you could be featured in our next blog! Plus, check out my other notepad binding blogs, including how to make personalized notepads and 4 simple steps to make adorable hand-made pads of paper.
 About the Author • Mallory Morsa is the product expert and content specialist at Binding101, and has been a valued team member since 2008. She started her career here in customer service, moved onto sales supervisor, product management, and then onto content. She takes a hands-on approach to products, and truly gets to know how every item works before she writes about them, with a goal to give you all of the honest information you need to make a confident buying decision. She has a bachelor's degree with a focus on management and marketing, and has been a writer, photographer, and videographer for many years. In her free time, she loves to read by the pool, volunteer at the local animal shelter in the kitten nursery, and snuggle her three furbabies while she binge watches Netflix.

Hi! My name is Mallory and I have been in the industry since 2008. If you do the math, that is over 15 years. I have spent my time at Binding101 in many roles, including customer service, sales, e-commerce management, video production, and more! Because of this vast experience, I bring a truly expert touch to the content in our blog. widdling down complex topics to extract what our customers really want to know. As the Content and UX Manager, I act as a writer and editor for the majority of copy you will find here. When not at my computer, I love spending time binging stand-up comedy, baking, and cuddling up with my family and rescued cats and dogs...