How to Make Personalized Note Pads
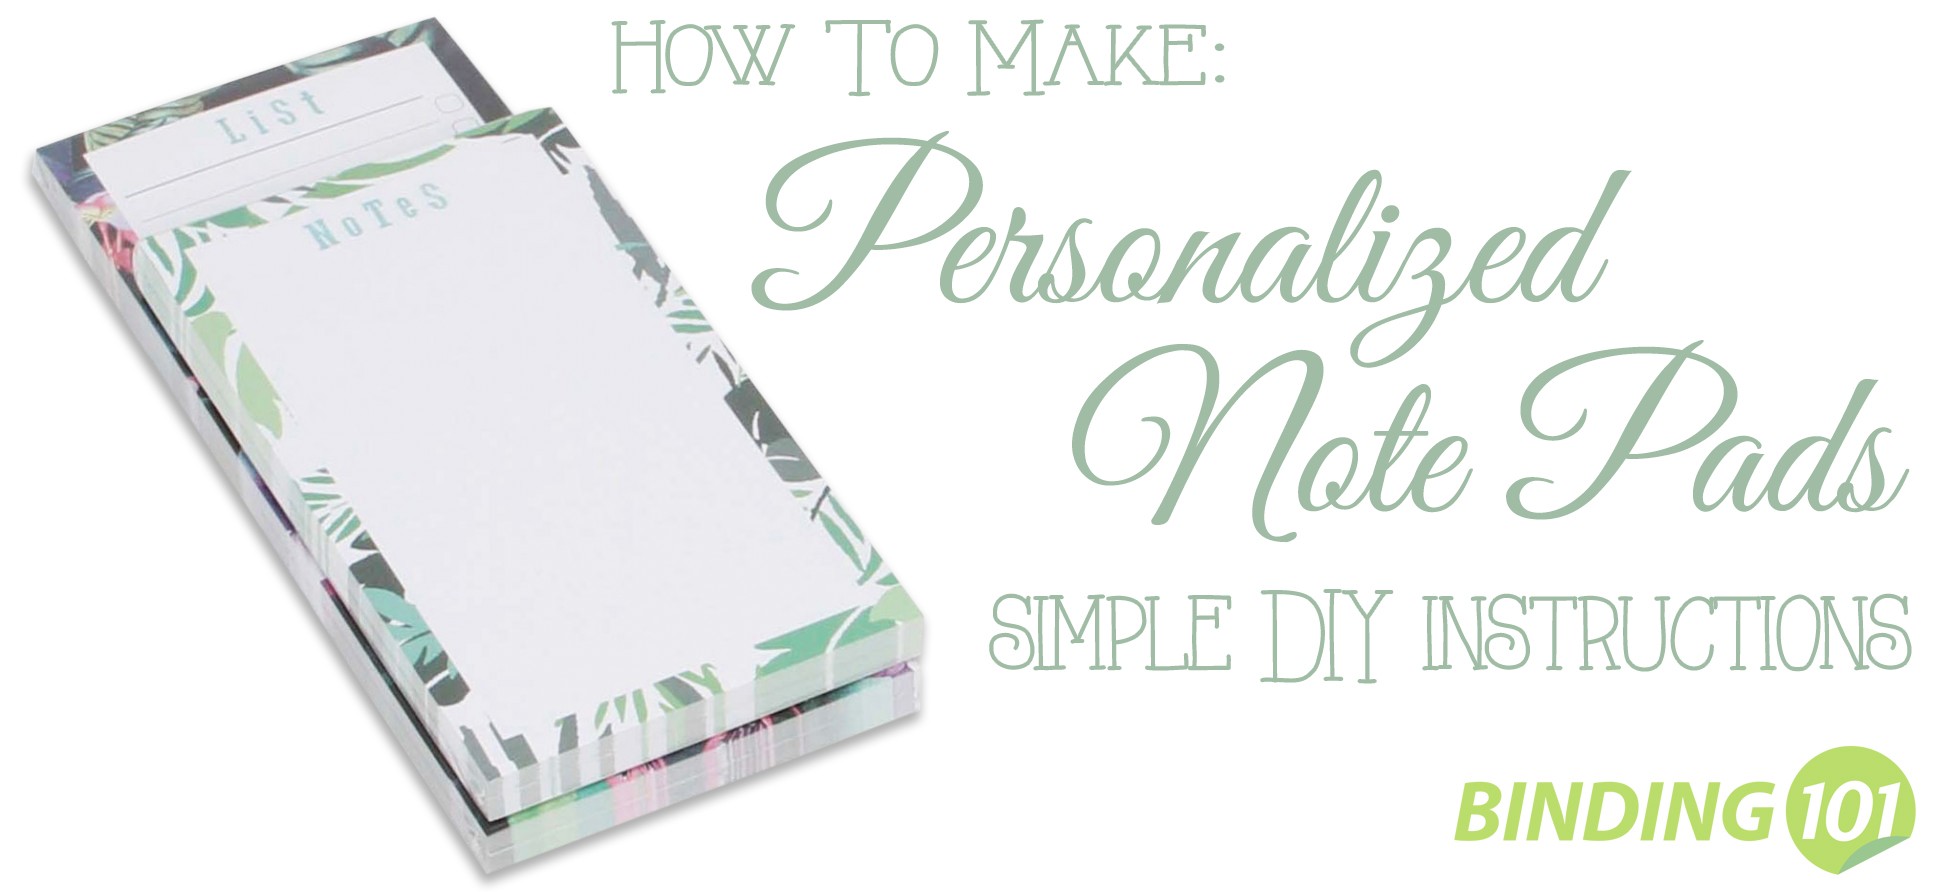
Have you ever wanted to make note pads personalized with photos, awesome prints, fun sayings, or anything else that you can't find at the store? Look no further - we've put together simple DIY instructions for how to make personalized note pads. They make amazing gifts and, since every note pad is hand made, they will always be one of a kind ♡
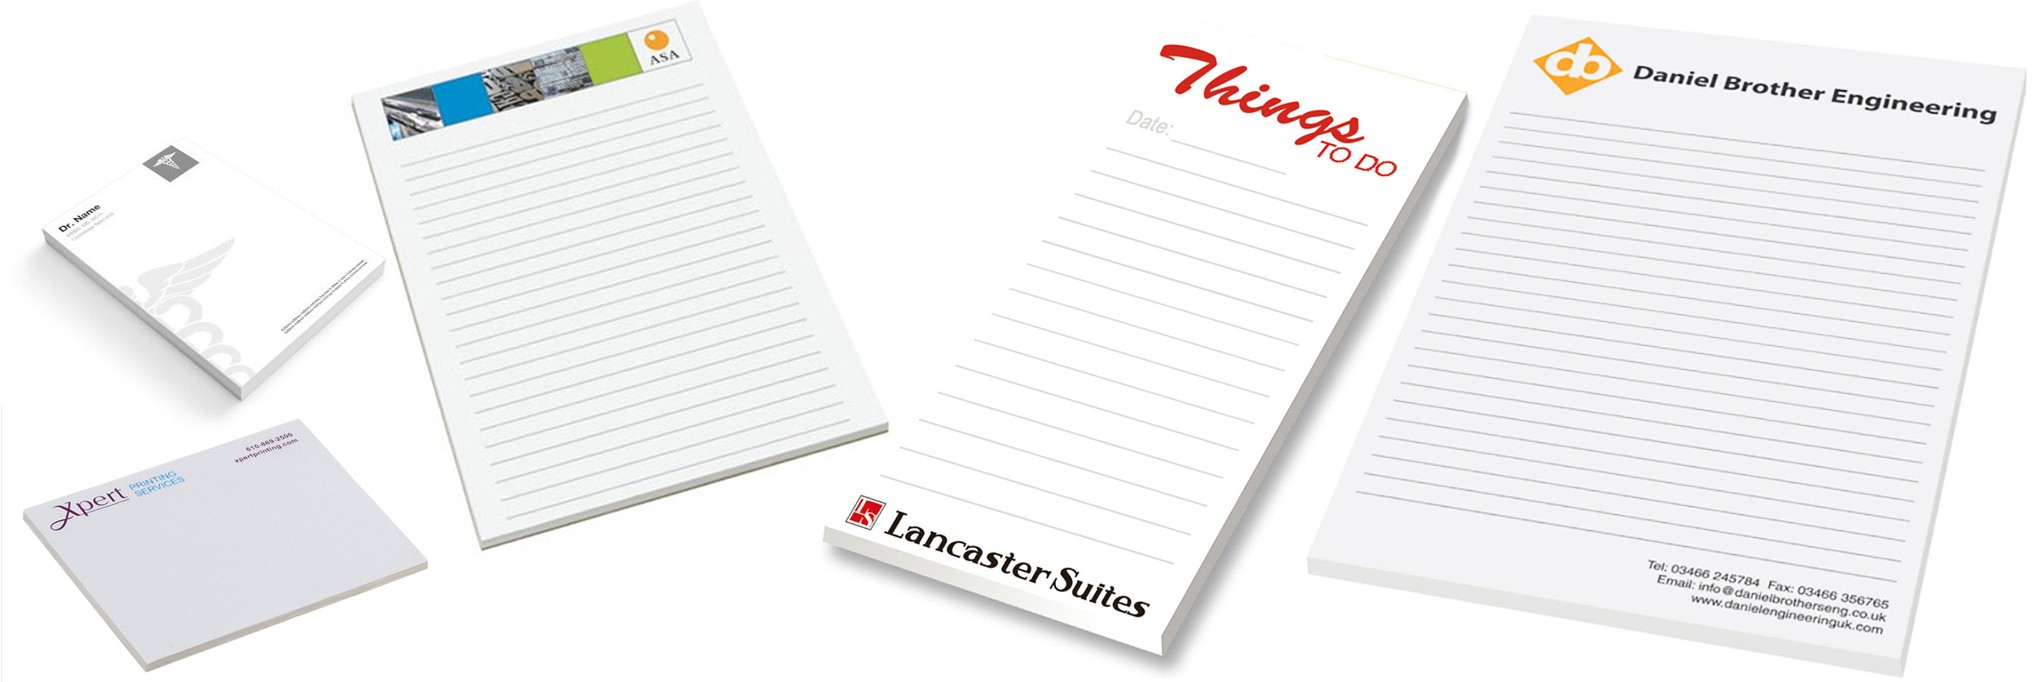
Padding is a popular solution for not only individuals looking for a fun and simple DIY craft, but also for businesses who want to create letter head, client gifts, or even just internal notepads for their staff that is branded with their information, or even an inspirational quote. Schools love to make pads of paper for students, teachers, and parents -- it is even safe for teachers to make with their young students as a fun kids craft. Print shops and mail stores who make their own pads of paper are also popular customers, as they can not only produce customized notepads for specific clients, but also create stock pads to keep out front in POP (point of purchase) displays. Real estate offices make pads for agents, brokers, and home buyers, churches make them for their flocks, people in the hotel and hospitality industries, and virtually everyone in the book binding industry uses them.
Making pads of paper is incredibly easy, and requires very little supplies. Here is how it is done...
What You Will Need:
- • A Clamp or a Padding Press -- Individual users who are only making a few pads at a time will often use binder clips, table clamps, or sometimes even just some heavy books...anything to hold the stack of paper tight. Businesses and those who pad in higher volumes will use a padding press machine, which is great for people making stacks of multiple pads at the same time. A popular press is pictured, the J1811 by Martin Yale.
• Stack of Paper -- Make sure your design is pre-printed on your paper. You can use a fun paper stock from the craft store, or print your own design with a photo, quote, or fun design. Hint: If using photos, make sure the photos are light (or set to a lower opacity) to make it easier to see writing on top.
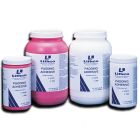
•Padding Glue -- There are several different kinds of pad glue, including fast drying, extra fast drying, and fan-a-part, which is used for multi part forms (like NCR paper). Padding glue is a special formulation, meant for a strong bind that can easily be torn-away. Standard Elmer's glue and other adhesives may not work as well, so we recommend using only these specially designed glue.
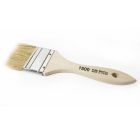
• Padding Brush -- You can use a padding brush or a paint brush of any kind.
• Padding Knife (Optional) -- This is an optional tool that is helpful if you will be making multiple pads of paper, and want to bind them at the same time. It will cut through the glue cleanly, without affecting the paper or glue coat on the bound sheets.
• Pad Counter (Optional) -- This is another optional tool that is helpful if you will be making multiple pads of paper at a time. It quickly lets you measure 1 pad and then use that measurement to separate the other pads from your thick stack.
• Chipboard (Optional) -- Chip board is needed if you want a thicker backing for your pads. It is not required, but is most popular.
• Paper Jogger (Optional) -- A paper jogger is used for larger companies looking to pad higher quantities. It will jog your paper into a straight/square stack, as well as eliminate static from the sheets.
How to Make A Pad of Paper:
-
① Jog your stack of paper so that the edges are squared. If using a large stack, we recommend using a Paper Jogger to jog the sheets quickly and easily. If you are using Chipboard for a back cover, place this on the bottom of the stack.
② With the backing to your Padding Machine in place, set your stack of paper tightly against it with the clamp board on top. Clamp the paper and board together.
③ Remove the backing to your Padding Machine and apply the appropriate kind of glue to the edges using your padding brush. You will want to saturate the edges, but do not apply so much that the glue drips.
④ Wait for the padding glue to dry. Depending on the padding glue you are using, this can take anywhere from 10-30 minutes. If using red padding compound the color will change from a pinkish tint to a red tint once it is dry. Apply a second coat, if necessary. While the padding compound is drying, wash your padding brush.
⑤ Once your padding glue is dry, loosen the clamps and remove your pad of paper. If you choose, use the optional padding knife to cut and separate your large pad into smaller pads.
 About the Author • Hi! My name is Mallory Morsa, and I have been the product expert and content specialist at Binding101 since 2008 (I have practically grown up here!). Every day I push myself to learn new information, incorporating real-life experiences from myself and the entire team to create solutions to the most common problems in the industry, and then present those solutions in a way that is easy to understand for everyone, from novices to experts. I dive deep into products to figure out how they work from the core, and am always honest with my results, so that you know exactly what you will get, before you buy. Outside of work, I can be found snuggling my 3 furbabies, reading by the pool, or at my local animal shelter bottle feeding and volunteering for the kitten nursery.

Hi! My name is Mallory and I have been in the industry since 2008. If you do the math, that is over 15 years. I have spent my time at Binding101 in many roles, including customer service, sales, e-commerce management, video production, and more! Because of this vast experience, I bring a truly expert touch to the content in our blog. widdling down complex topics to extract what our customers really want to know. As the Content and UX Manager, I act as a writer and editor for the majority of copy you will find here. When not at my computer, I love spending time binging stand-up comedy, baking, and cuddling up with my family and rescued cats and dogs...